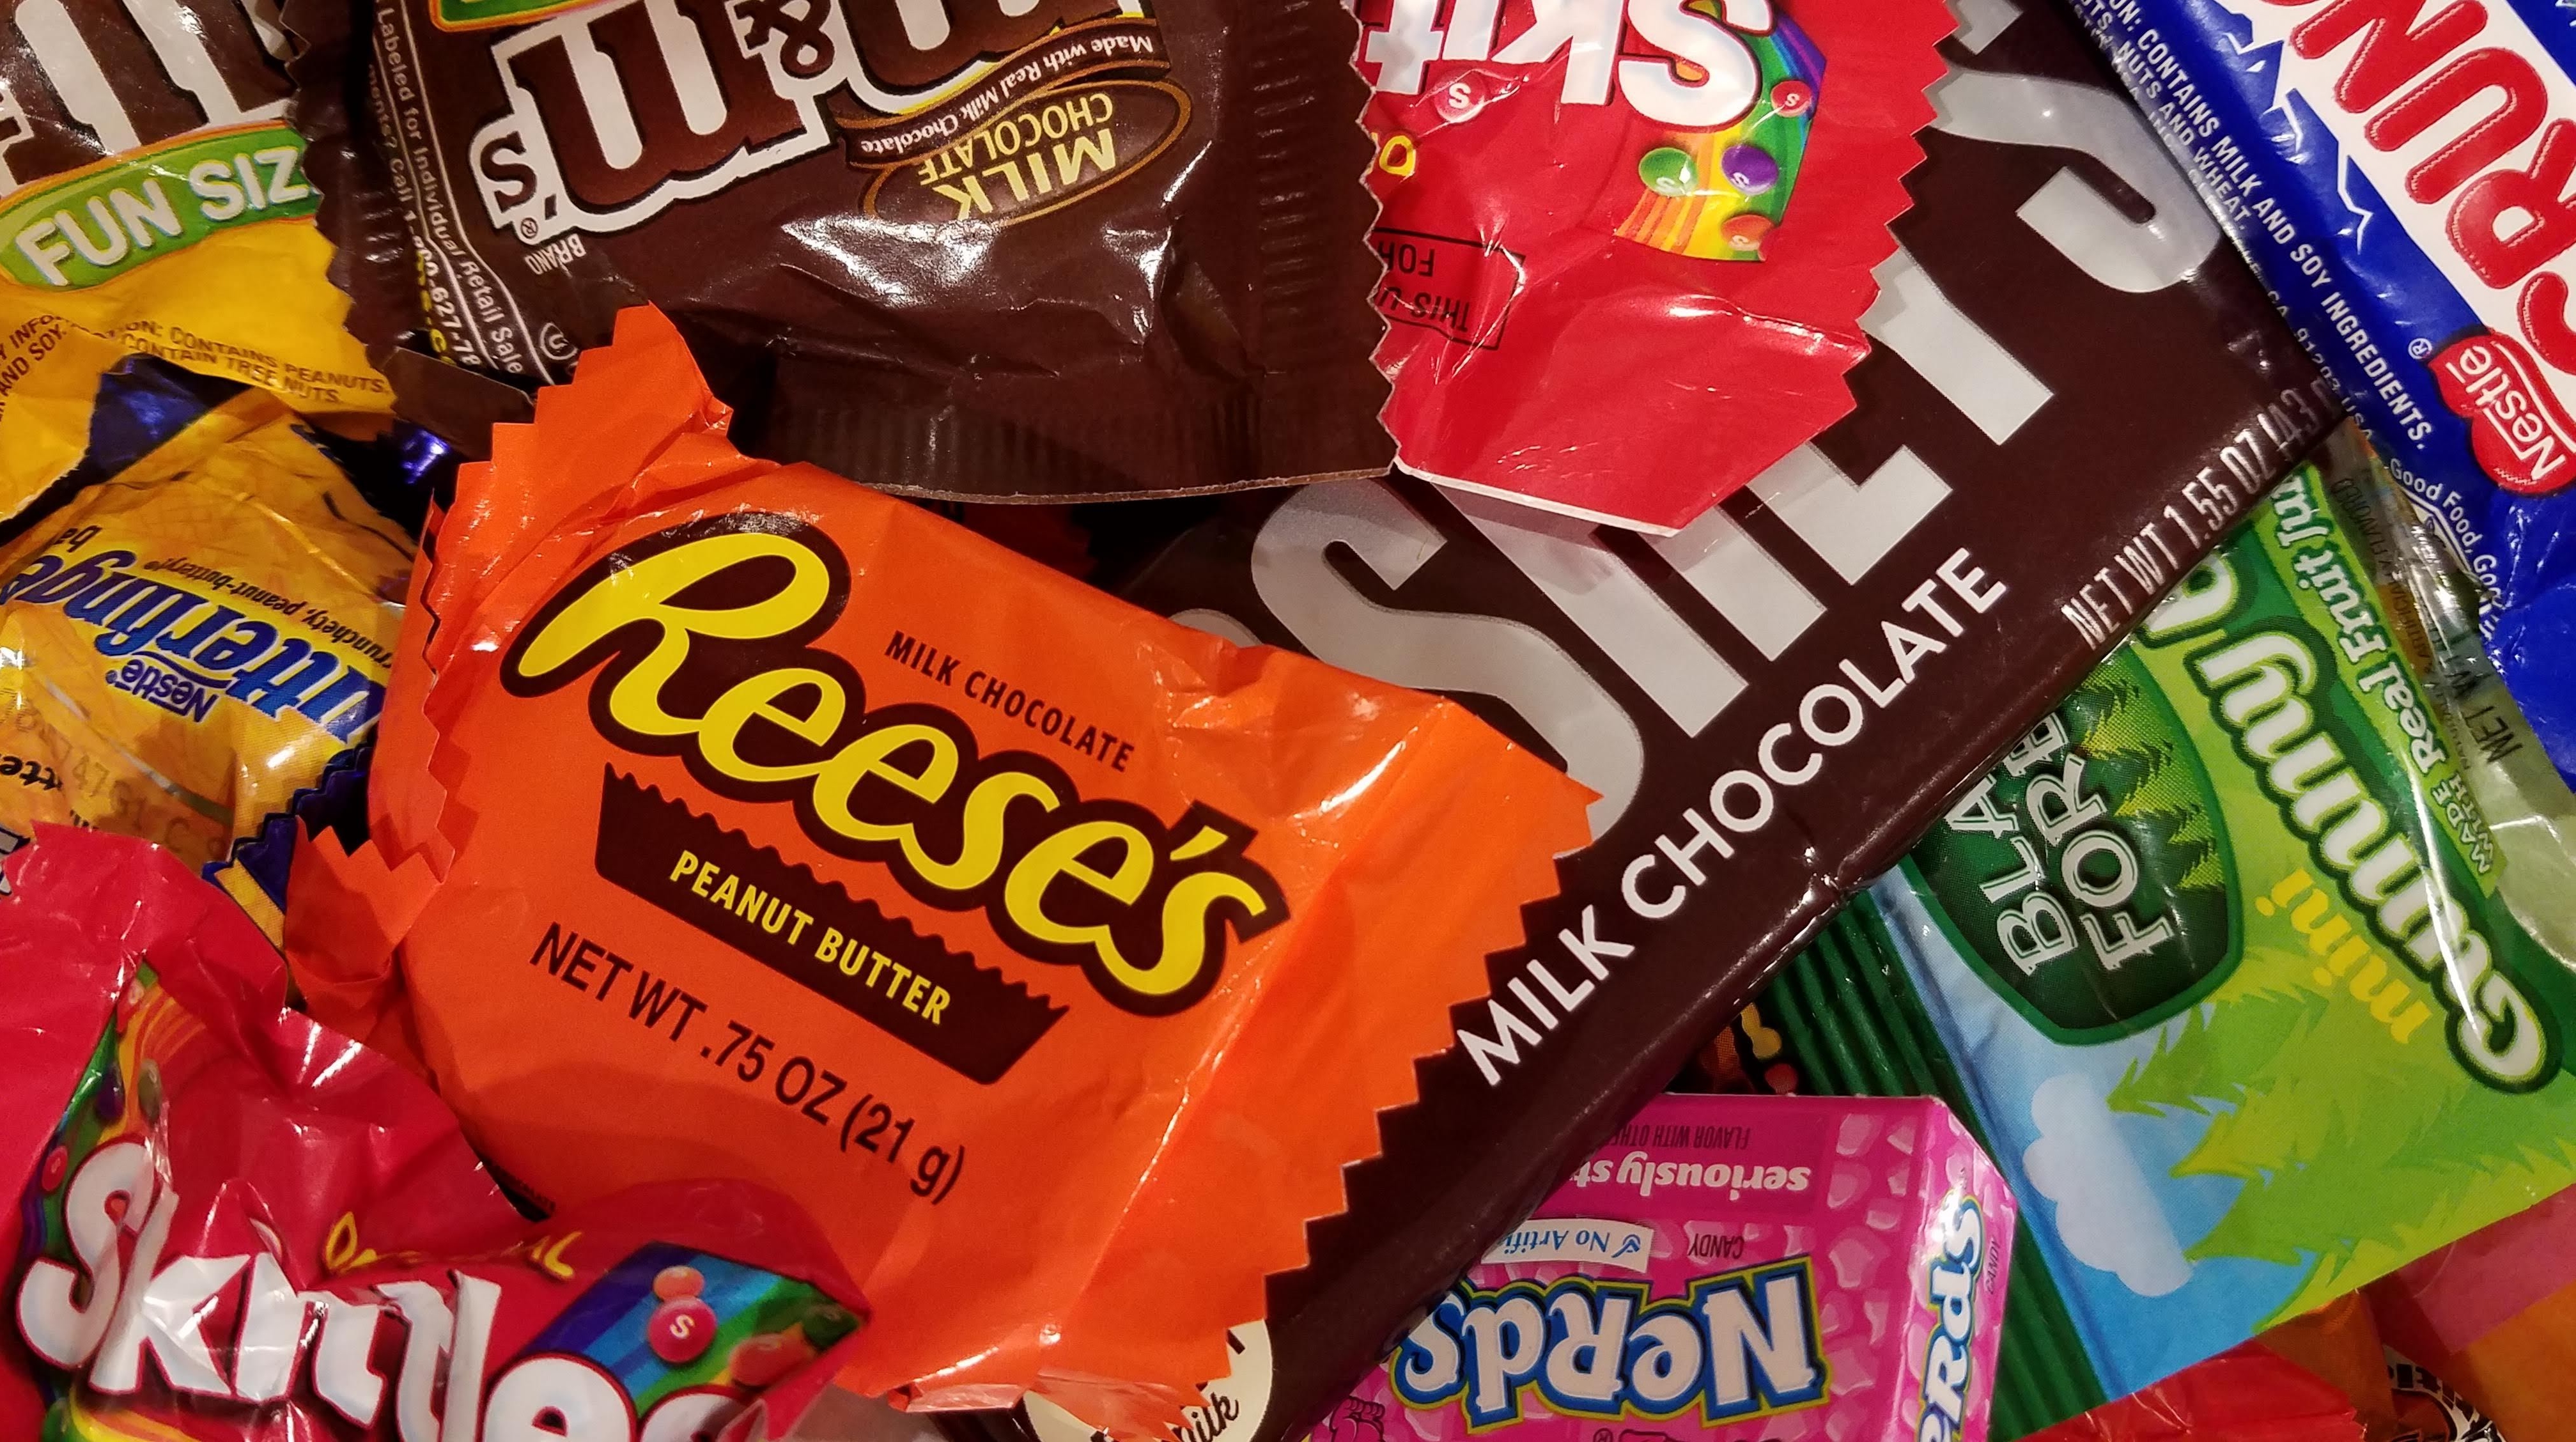
Halloween is here! If you are like me, we always have tons of candy that lasts us weeks on end. Did you know that you can use leftover Halloween candy for experiments?
I love Halloween. Seeing the smiles on my children’s faces when they finally pick out the PERFECT costume, watching them go door to door and then the excitement they have when they get home and check out all the candy that they received. I remember trick or treating with my brother and some cousins when I was younger. We used to dump all of our candy on the floor, sort through it and trade pieces. It was the BEST!
Now that I’m a parent, I think about… how do I regulate this candy intake for my child’s health AND how do I keep myself from eating it and gaining 5-10 pounds (haha)!?!?!?
Well… why not take some of that leftover candy and do some STEM experimenting??? So, that’s what we did!!! I researched a few experiments on-line and we got started.
We did a few simple experiments to study dissolution and weighing. Then my 3 year old completely surprised me with her own design! It taught experimentation, observation and provided her practice in verbalizing what we observed. The supplies are so simple and are typical items I think most parents have in their house at all times.
DISSOLUTION:
Experiment 1 –
SUPPLIES
- 9 clear plastic cups
- about a half cup each of vinegar
- water
- vegetable oil
- leftover Halloween candy (we used Skittles, M&M’s and Smarties)1


SETTING UP THE EXPERIMENT:
My toddler is just learning to read but can’t quite read yet, so I knew I needed to make the instructions visual for her. I drew out our plans on a sheet of paper.

We walked through the plans step by step. I filled the cups with the liquids (oil, water and vinegar) and she dropped each candy in.
RESULTS:
Right away she noticed that the water and the vinegar had removed the color coating on the Skittle and the M&M. We let them sit for a while… maybe 30 minutes then relooked at them. She was able to identify that the vinegar and water solutions were better for dissolving the candy than the oil.

After about an hour, the Skittle we placed in vinegar was completely dissolved and almost dissolved in the water. She recognized that the chocolate from the inside of the M & M did not dissolve and the Smartie did not dissolve at all but if shaken slightly, it broke apart a little bit in the vinegar and water.
Experiment 2 –
SUPPLIES:
- Three tablespoons of water in a shallow dish,
- a spoonful of baking soda,
- candy NERDS

SETTING UP THE EXPERIMENT:
Add water to the shallow dish. Dump in the candy NERDS and then a spoonful of baking soda.
RESULTS:
Wait a few minutes and you will start to see bubbles forming. The bubbles form due to a chemical reaction that creates a gas. The baking soda is very basic, the nerds are acidic and the water, which is neutral, helps the reaction along. If you let it sit for a really long time, the NERDS will completely dissolve.
Experiment 3:
GATHERING SUPPLIES:
- one SMARTIE
- a half a cup of vinegar
- a plate.
SETTING UP THE EXPERIMENT:
Place the SMARTIE on a plate and pour vinegar over the top of it.

RESULTS:
You will see bubbles forming on the surface of the SMARTIE and eventually (this literally takes FOREVER), some candy will break off the edges. This experiment could give an example of how erosion works but Experiment 2 with the candy NERDS would accomplish the same thing – it’s a bit quicker and more exciting.
WEIGHING:
SUPPLIES:
- a coat hanger,
- 4 total cupcake cups,
- yarn,
- a hole punch
- M&M’s

SETTING UP THE EXPERIMENT:
- Layer two cupcake cups together
- Punched holes on each side of the cups.
- String some yarn through. I recommend making your string longer than mine to create a more dramatic effect when one cup is filled with candy.
- Tie the yarn with cups to each end of the coat hanger and hang the coat hanger on a handle.
RESULTS:
My three year old chose a side to pour the M&M’s into and I made her guess what would happen (develop a hypothesis). She poured the M&M’s into the side she selected. We watched as the hanger moved to that side. I asked her what she thought happened and why. She said, “there are ‘too many’ M&M’s on that side so it went down”. Basically, she was right but I helped her understand it wasn’t that there were ‘too many’, but that one side was heavier than the other side. Then my one year old knocked them out of the cups and the M&M’s were eaten… so our experiment ended (HAHA!).
Side Note: During the experiments, we had several candy spills. My toddler surprised me and completely gathered her own supplies, designed and made her own pulley system to help bring the candy up from the floor. I was in complete and utter awe of her thinking and creativity. It made me feel like I was doing something right as a ‘Momgineer’.
If you do a web search for “Halloween candy STEM experiments”, tons will pop up! I personally LOVED this website and wished we could have done the Pop Rocks experiment – but we didn’t have Pop Rocks.
Let me know if you try any other experiments or have a piece of candy you’d like to test but don’t know how!!!
Are you looking for more Halloween STEAM activities? Check them our here!
If you’d like to write a feature article on your experiments for my page, please don’t hesitate to contact me at momgineeringthefuture@gmail.com.
- Do no use chocolate candies because they will not dissolve. ↩︎


Leave a Reply