
I’ve been wanting to do this project for a long time! We finally did it!
Check out how we made our own melted crayon art below!

What you need:
- Canvas
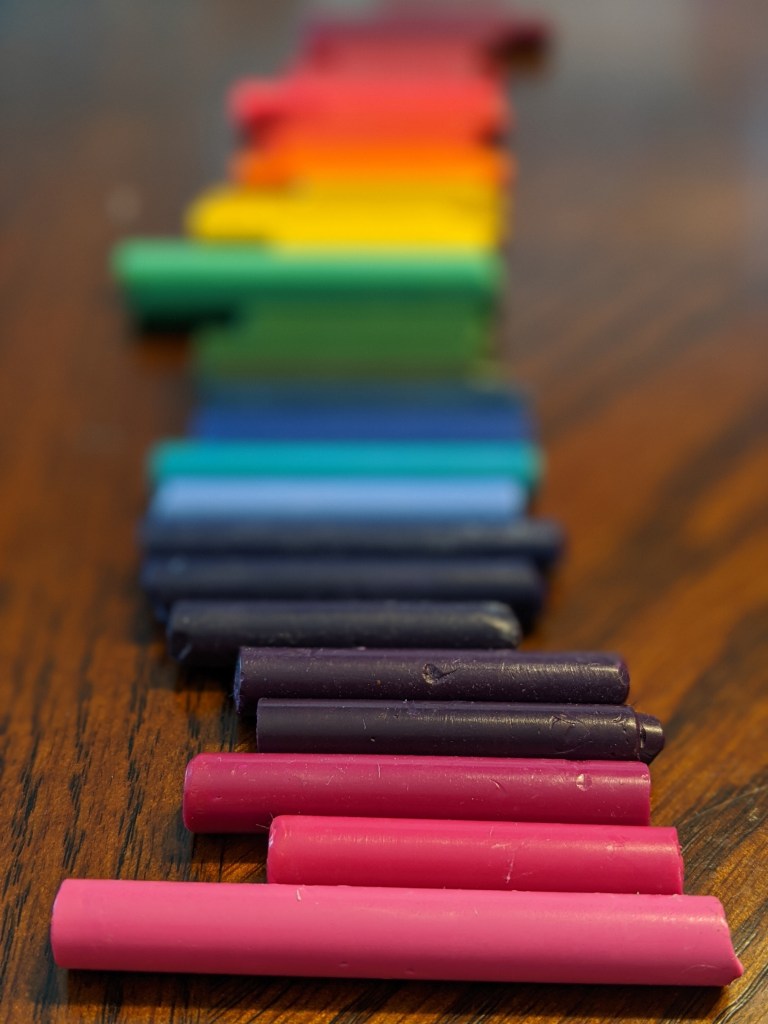
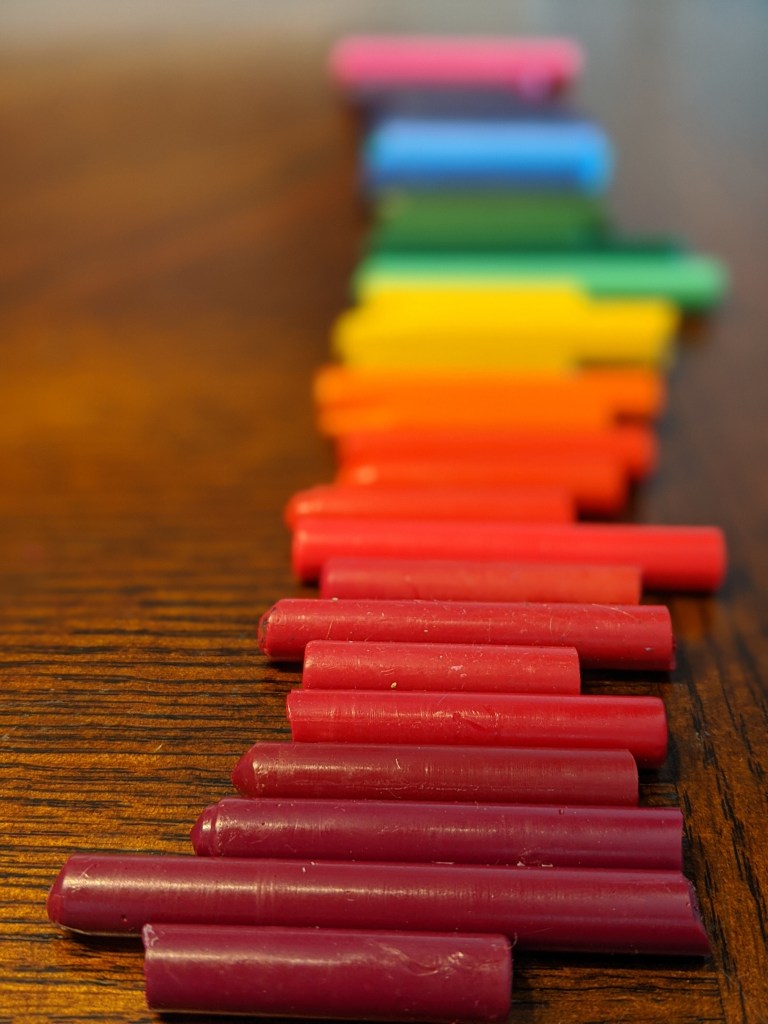
- Broken, unwrapped crayons
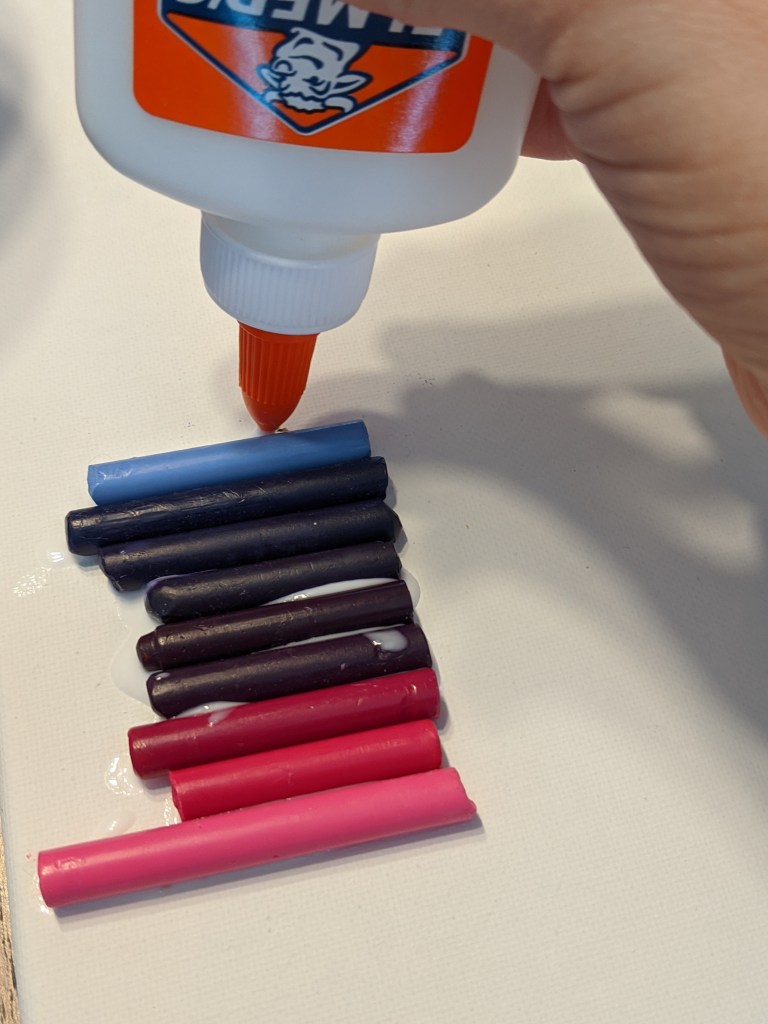
- Elmers glue
- Hair dryer
What to do:
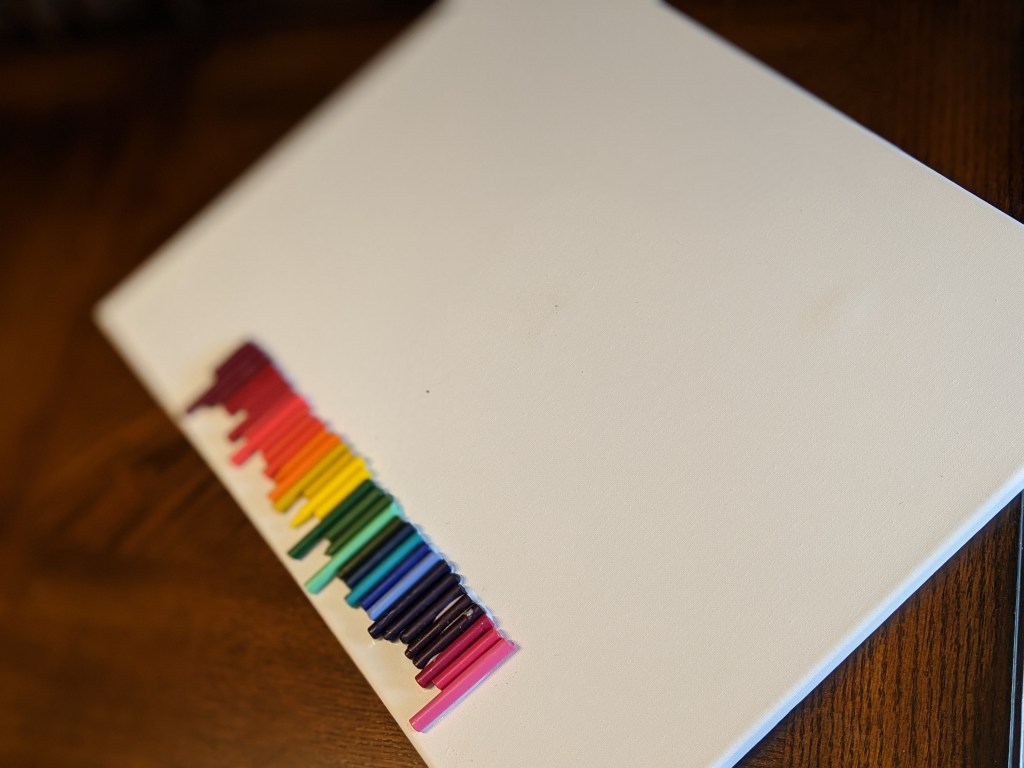
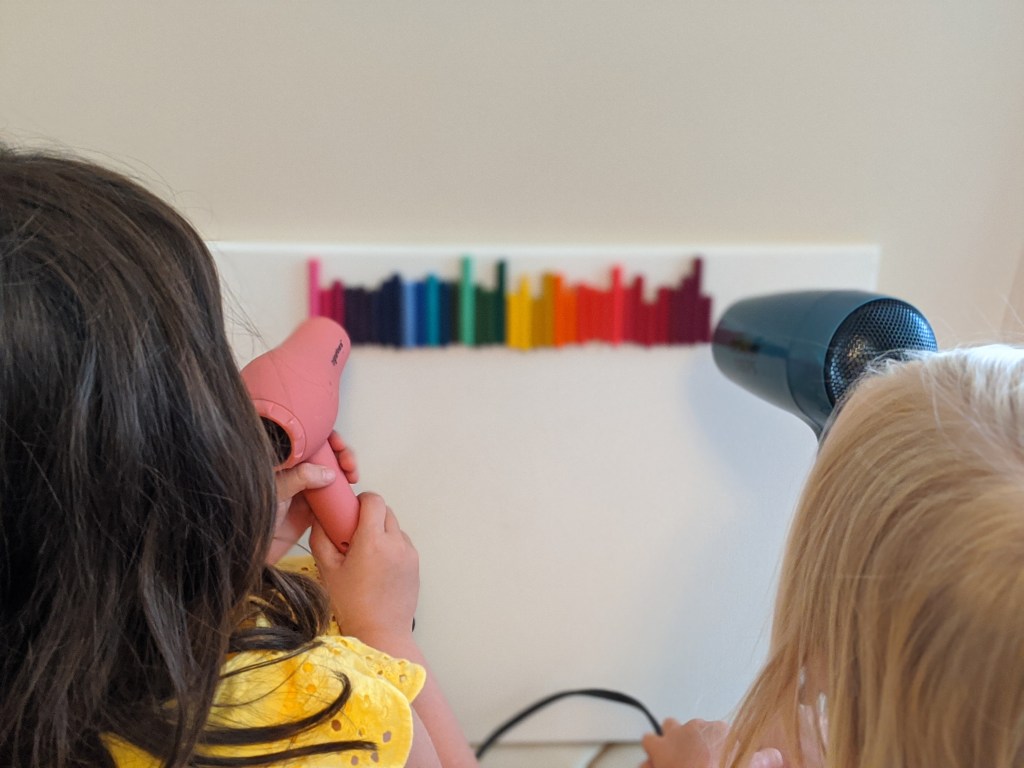
- Glue each crayon to the top of the canvas. We placed ours in a rainbow pattern.
- Let the glue dry. This could take an hour or more depending on how much glue you use.
- Place the canvas upright so that the crayons are pointing down the empty canvas space.
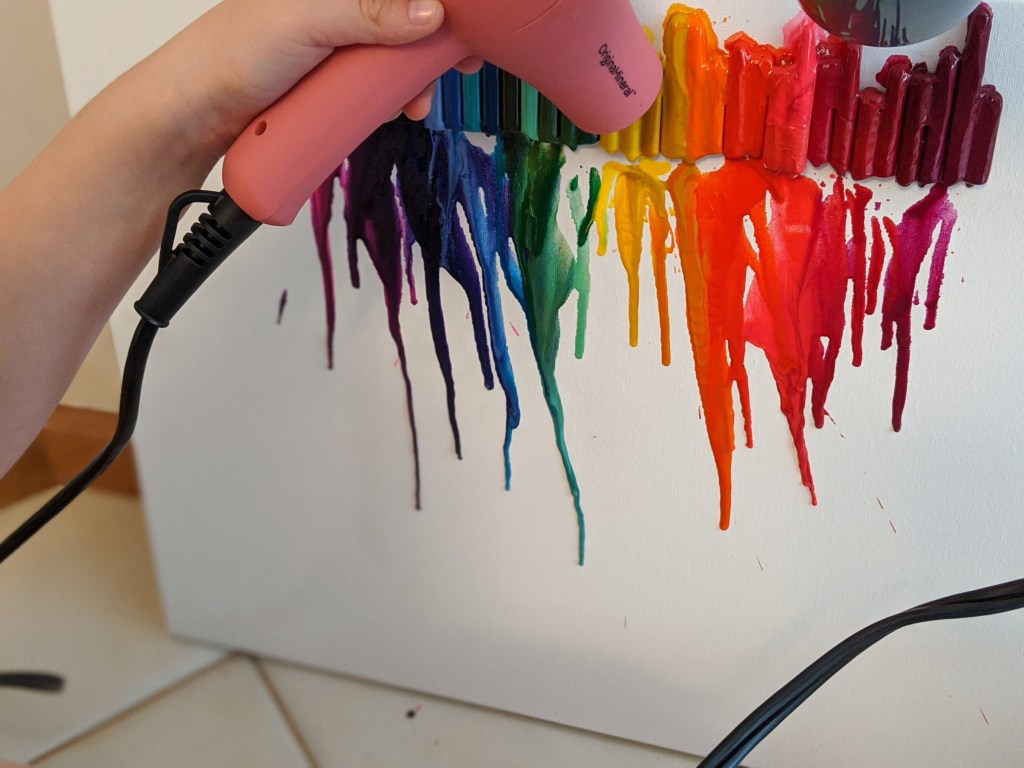
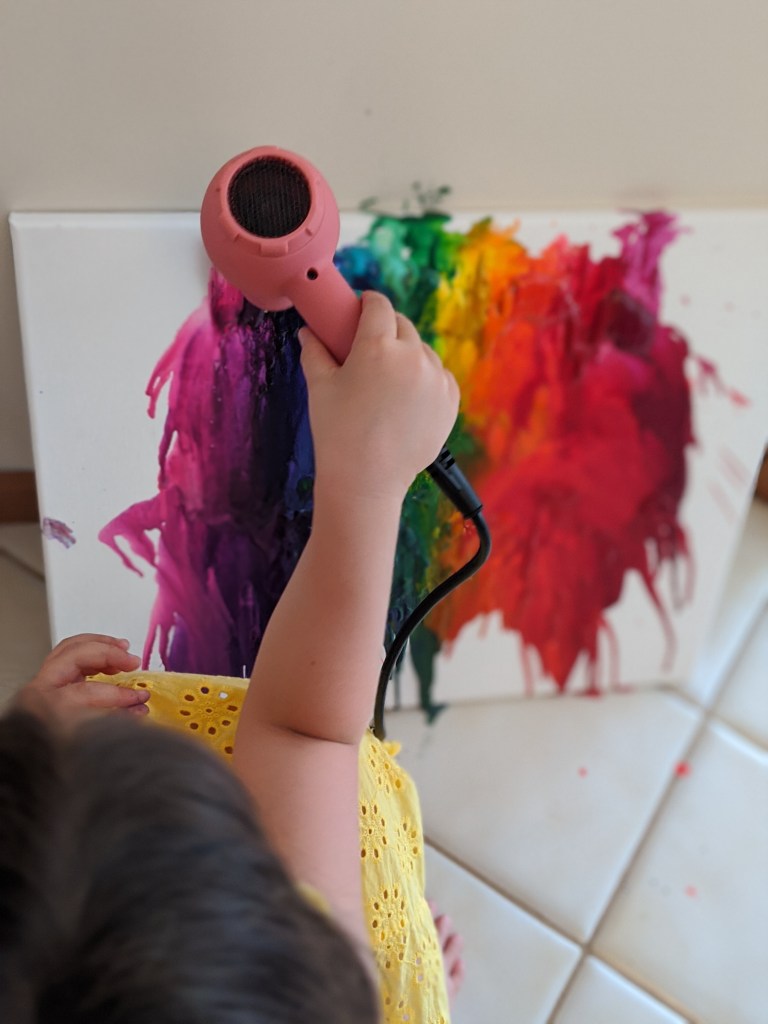
- Turn on your hair dryer and direct the heat onto the crayons evenly. The crayons will begin to melt and the color will drip and flow downwards onto the canvas.

Where’s the Science?
Crayons are made of paraffin wax and pigments. As the crayon is heated, the paraffin wax reaches it’s melting point and begins to melt. The pigments flow in the wax and leave a beautiful array of colors down the canvas! Watch as some of the colors mix together to form new colors or patterns of color. When the crayon cools, it hardens again which leaves a permanent (well, until it’s heated again) art display on the canvas.
If you want to learn more about the history on the invention of Crayola Crayons, check out my Reading STEMs Learning book review on the book entitled, ‘The Crayon Man’. Check out my other crayon books and activities here!
-Kristen


Leave a comment